Travel
A Guide to Climbing Santa Ana Volcano in El Salvador
Santa Ana Volcano is the highest in all of El Salvador and, in fact, the most active. Those who touch down in the beautiful city of Santa Ana do so with the intention of ticking off this moderate hike from their bucket list.
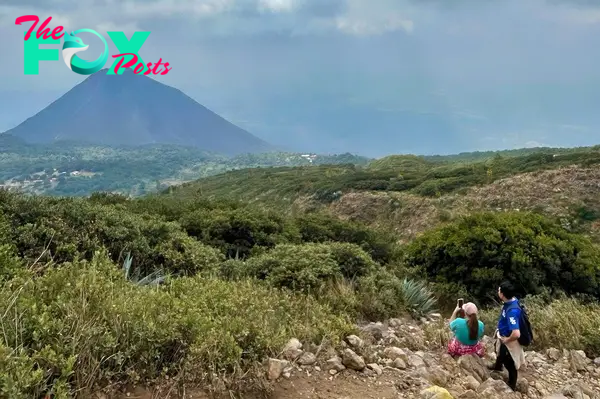
A couple of months back, I was lucky enough to have the chance to climb Santa Ana Volcano, and what a rewarding experience it was. Seeing the turquoise-blue crater lake in real life is something that I’ll never forget and was easily one of my highlights of Central America.
I took on this climb with little to no preparation, which was probably a bad idea, but it worked out in the end. So you don’t make the same mistakes I did, I’ve written this guide with all the need-to-know information that will help you during your trek.
How to Get to Santa Ana Volcano From Santa Ana
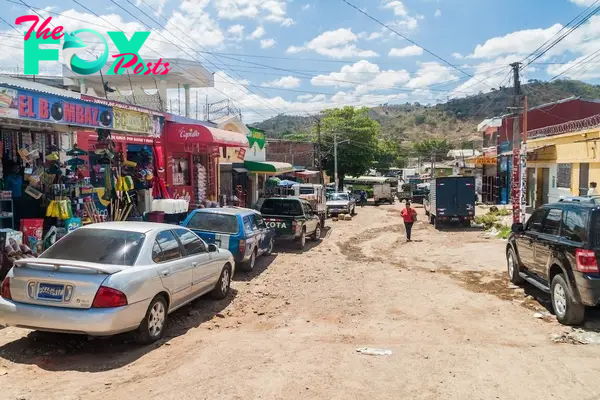
Getting to Santa Ana Volcano is a lot easier than it seems. The drive to the trail only takes just under an hour, so it’s pretty close. You’ll have the choice to either take a bus or a taxi/In Drive.
If you want to go there by bus, you’ll have to take bus number 248 from Santa Ana; it will be labelled on the top of the vehicle, so you won’t be able to miss it. Expect the journey to last around two hours; this is Central America, so it’s going to be a chicken bus, which makes many stops along the way, adding extra time to the journey.
The other option is to take a taxi to the trailhead or an In Drive, which is what I did. In Drive is a ride-sharing app used throughout El Salvador, and it’s very affordable. We split the ride between four people, costing only $2.50 per person.
Pro-tip: If you get a taxi driver and they give you a crazy price, take out the In Drive app and show them how much the drivers are offering. You might be able to get a cheaper fare.
Cost of Hiking Santa Ana Volcano
Unfortunately, hiking Santa Ana Volcano isn’t free. There’s an entry fee of $6 per person when you arrive at the gate for all foreigners. If you’re Salvadorian, the fee is only $3.
You should be aware that when you arrive at the gate, you’ll be told you can’t hike without a guide. This happened to us; we had to join a big group and pay an extra $3 for the guide, which was perfectly fine; we didn’t mind paying more. However, things do move slowly, and if you like to hike fast without waiting around like me, the trek can drag in, so be aware.
The reason for the guide is that there have been muggings on the trail in the past, so it’s for your safety. I have heard of people being able to do it without a guide, so who knows what the situation will be when you get there?
Pro tip: Grab some traditional Salvadorian breakfast at the trailhead before you start hiking because there are only some snack stalls halfway through, but nothing substantial.
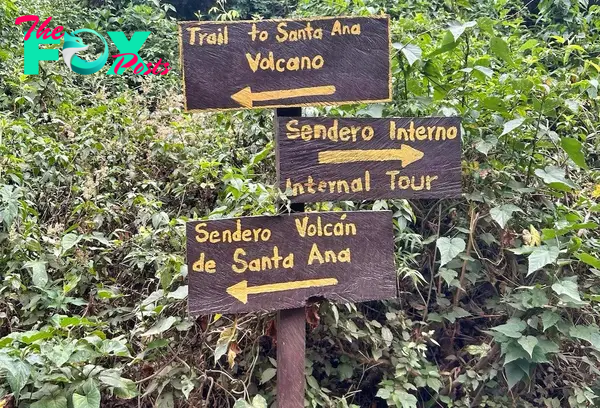
The Climb Itself
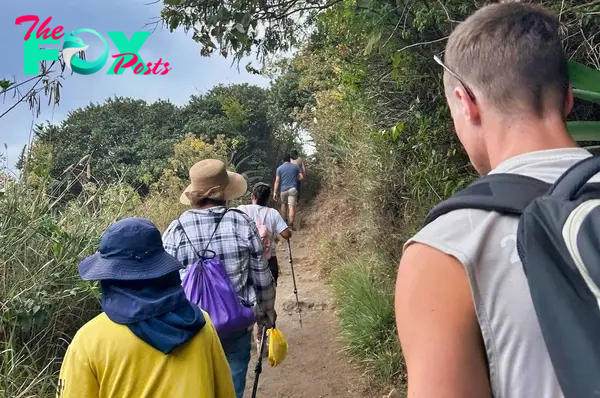
Now, for the best part: the climb itself. My group and I took around two hours to reach the top, with plenty of breaks throughout.
Even if you’re not extremely fit, you’ll be able to manage it; it’s an easy-to-moderate climb with a very slow incline. Just be sure to have comfortable shoes and take along some hiking sticks for extra support if needed.
About halfway through the ascent, there are some toilets and a little tienda where you can pick up some snacks and water if you need it.
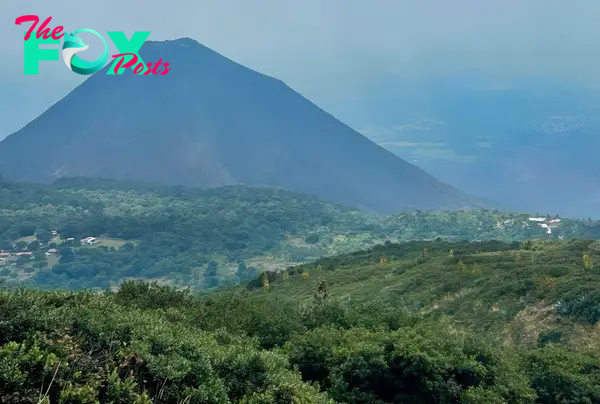
Once you get to the final section of the trail, the views start getting really good: rugged mountains everywhere you look and vistas of Lago de Coatepeque in the distance; you won’t be able to stop taking pictures.
Pro tip: Make sure you bring plenty of water because it can be quite humid on the trailhead.
The Crater
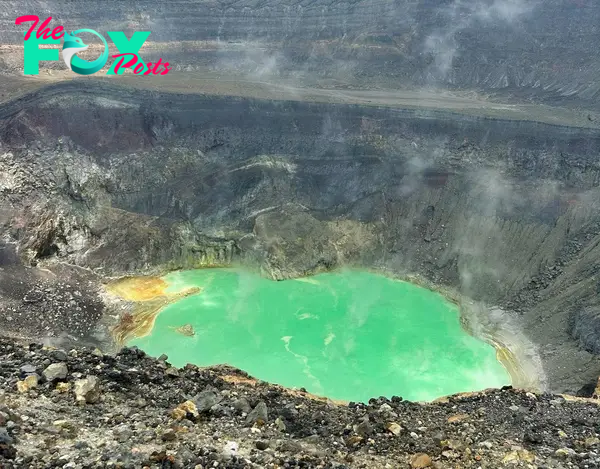
The crater will be waiting for you at the top of the volcano; it really is a sight to behold. The aqua colour of the crater lake doesn’t look real; when you hear and see it bubbling away, it brings into perspective the power and beauty of Mother Nature.
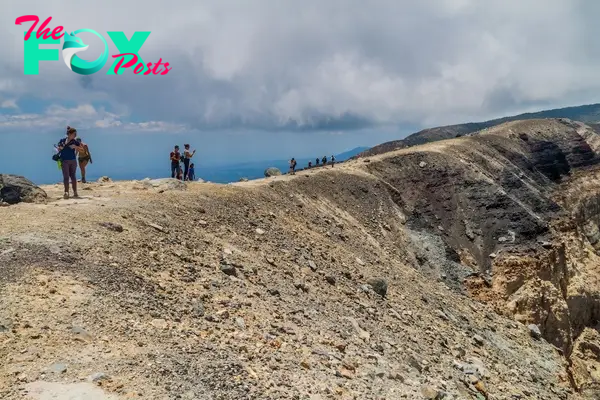
You’ll be free to walk around the ridge of the volcano, but I urge you to be careful when you’re up there. It can get slippy, and an accident can easily happen if you’re fooling around. All the guides usually surround you anyway and are very cautious about every step you take, so just listen to the rules, and you’ll be fine. There’s also a police officer at the top, just in case anything goes wrong.
We stayed at the top for nearly an hour, and personally, I thought that was too much time. Especially with the heavy winds up there, it gets cold after you’ve had time to sweat all the hiking off.
Pro-tip: When you reach the summit, take a left and walk for about 100 metres where there are fewer people to get a better photo.
The Descent
What goes up must go down. Luckily, the descent takes a little less longer than the ascent, especially if you’re with a guide because the group needs fewer breaks.
Many of our group members actually ended up jogging down a good chunk of the trail when it started to even out, which was fun. However, you should take extra caution at the beginning of the descent because there are a lot of boulders that you need to climb over. They can be dangerous if you’re not looking where you’re going.
Once you get back to the trailhead, you’re done! Your next challenge is getting back to Santa Ana, which can be tricky. The public buses back to the city only run at 1:00 PM and 4:00 PM, so you’ll have to try to make one of them. The other option is to take a taxi, which can cost a bit more than if you were to do it the other way around since you’re at the driver’s mercy.
Pro-tip: If you’re with a big group, pay your In Drive driver who took you to the trailhead more money to stick around and wait for you to drive you back to Santa Ana.


Houston vs Hofstra Prediction 11-22-24 College Basketball Picks


Draftkings Best NBA Showdown Picks: Pacers vs. Bucks 11/22/24

Draftkings NBA Showdown Picks: Warriors vs. Pelicans 11/22/24


-

 Travel1d ago
Check Out the Best Smart Trackers in the Market for Your Luggage
-

 Travel2d ago
Filming Locations of ‘Mr. Plankton’ That Are Worth a Visit
-
 Travel3d ago
The Best Viewpoints That Capture the Beauty of Mount Fuji in Japan
-

 Travel4d ago
14 Sneaky Airline Fees You Should Be Aware Of
-

 Travel4d ago
The Most Expensive Disney Hotels & Resorts in the World
-

 Travel4d ago
18 of the World’s Most Beautiful Libraries
-

 Travel4d ago
15 of the Most Beautiful Fountains Around the World
-

 Travel1w ago
All About Hong Kong’s Newly Opened Long Valley Nature Park