Business
Apply Custom Clear Stickers without Bubbles or Wrinkles
Custom clear stickers are not only a popular choice for branding and advertising but also for personalizing belongings and adding a unique touch to various items. Their transparent nature allows them to seamlessly blend with any surface, making them versatile and visually appealing. However, achieving a smooth and bubble-free application can sometimes be challenging.
In this comprehensive guide, we will delve deeper into the process of applying custom clear stickers flawlessly, providing detailed steps and expert tips to help you achieve professional results every time.
Table of Contents
KBOx" id="ez-toc-cssicon-toggle-item-65f948866c810" aria-label="Toggle" />Prepare Your Surface
Before applying your custom clear stickers, it’s crucial to prepare the surface properly to ensure adhesion and longevity. Start by cleaning the surface with a mild detergent and water to remove any dirt, dust, or grease. Dry the surface thoroughly with a lint-free cloth to prevent any moisture from interfering with the adhesive.
Selecting the Right Tools for the Job
Having the proper tools at your disposal can significantly streamline the sticker application process and help you achieve better results. Here’s what you’ll need:
Custom clear stickers: Choose high-quality custom clear stickers that are specifically designed for the intended application.
Soft cloth or squeegee: Use a soft, lint-free cloth or a squeegee to smooth out the sticker and remove any air bubbles.
Adhesive remover: In case the surface is particularly stubborn or has residues that are difficult to remove, rubbing alcohol or adhesive remover can be used to prepare the surface.
Hairdryer: For larger stickers or curved surfaces, a hairdryer can help soften the adhesive, allowing the sticker to conform better to the surface.
Choose the Right Location
Select a well-lit and flat surface for sticker application. Avoid areas with direct sunlight or extreme temperatures, as these conditions can affect the adhesive’s performance and make it challenging to apply the sticker smoothly.
Peel the Sticker Carefully
Gently peel the clear sticker from its backing sheet, taking care not to bend or crease it. If you notice any bubbles on the backing, use your fingers to smooth them out before applying the sticker to the surface.
Prepare the Surface
If you’re working with a surface that’s particularly stubborn or has residues that are difficult to remove, lightly spray the surface with rubbing alcohol or apply a thin layer of adhesive remover. Allow it to dry completely before proceeding with the sticker application.
Position the Sticker
Carefully align the sticker with the desired location on the surface, making sure it’s straight and centered. Once you’ve positioned the sticker, avoid repositioning it, as this can weaken the adhesive and increase the risk of bubbles or wrinkles.
Smooth out the Sticker
Using a soft cloth or squeegee, starting from the center and moving outward, gently press the sticker onto the surface, smoothing out any air bubbles or wrinkles as you go. Apply even pressure to ensure the sticker adheres firmly to the surface.
Use a Hairdryer
If you’re working with a larger sticker or a curved surface, using a hairdryer on a low heat setting can help soften the adhesive, allowing the sticker to conform better to the surface. Hold the hairdryer a few inches away from the sticker and move it back and forth in a sweeping motion.
Press out Any Remaining Bubbles
If you notice any stubborn bubbles or wrinkles after applying the sticker, use a pin or needle to gently prick the bubble, then press it outwards with your finger or the squeegee. Be careful not to scratch the surface or tear the sticker in the process. This method is especially effective when applying custom vinyl stickers, as their unique material and design can sometimes make them more susceptible to bubbles and wrinkles.
Allow Proper Drying Time
Give the sticker sufficient time to adhere properly to the surface before handling or exposing it to any elements. Depending on the adhesive used and environmental conditions, this can take anywhere from a few hours to a day.
Seal the Edges
For added protection against peeling or lifting, you can seal the edges of the sticker with a clear sealant or laminate. This is particularly useful for outdoor applications or high-traffic areas where the sticker may be subjected to more wear and tear.
Maintain Proper Care
To ensure the longevity and appearance of your custom clear stickers, avoid using harsh chemicals, abrasive cleaners, or excessive rubbing when cleaning the surface. Instead, gently wipe the surface with a damp cloth to remove any dirt or debris.
Closing Thoughts
Applying custom clear stickers without bubbles or wrinkles may require a bit of patience and attention to detail, but with the right tools and techniques, you can achieve professional results with ease. By following the step-by-step guide outlined above and taking your time to prepare the surface and apply the sticker carefully, you can ensure that your custom clear stickers look flawless and adhere securely to any surface. So, unleash your creativity and personalize your belongings with confidence, knowing that your custom clear stickers will look as professional as they were intended to be.


Teotihuacan: Ancient city of pyramids


Ricciardo felt "rapid" before Stroll F1 clash in China

Lamz.Guardian of the Seas: Unveiling the Mighty Westland Sea King Helicopter


-
 Business12h ago
The Big Climate Costs That Lie Just Below the Surface
-
 Business16h ago
Your Mobile Phone SIM Plan: A Tool for Building Credit!
-

 Business21h ago
Passover notes from Rome – Chef Walter Potenza
-

 Business1d ago
Walmart Rolls Out Major Changes For In-Person Customers. See What Stores Are Impacted
-
 Business1d ago
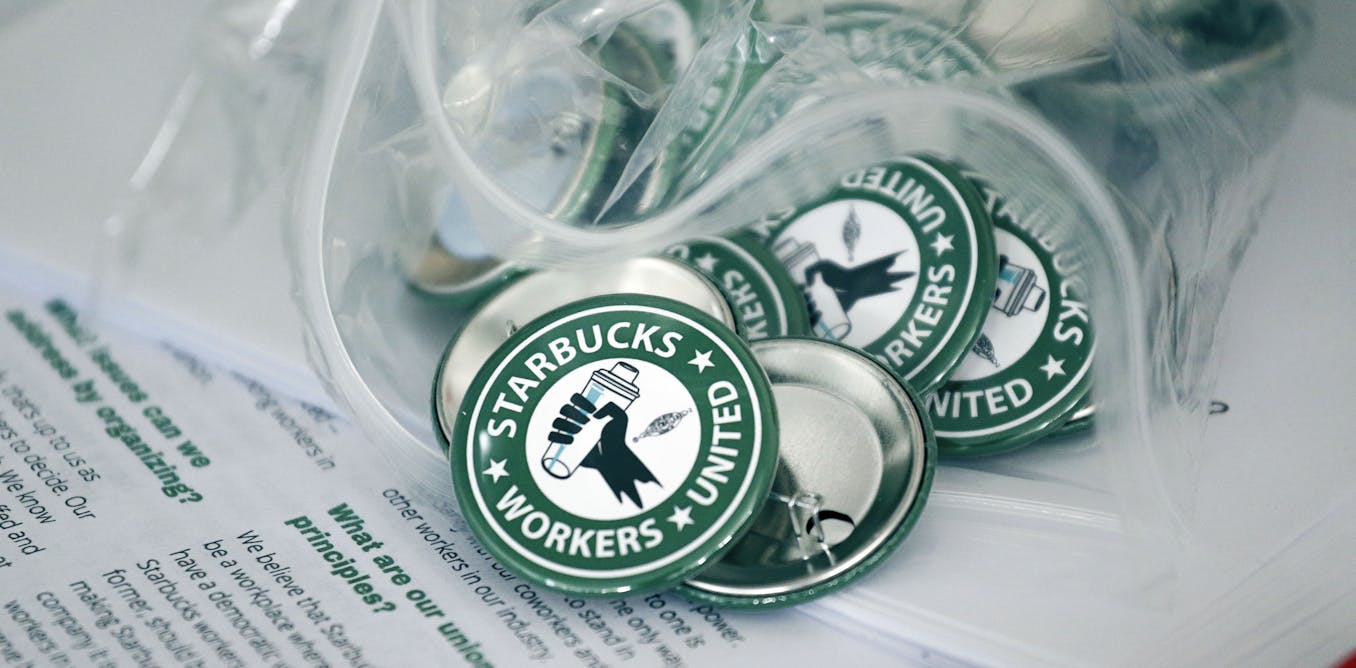
Supreme Court appears open to Starbucks’ claims in labor-organizing case
-

 Business1d ago
Protium marks one-year milestone in inexperienced hydrogen manufacturing
-
 Business1d ago
The QI Group Story: From Humble Beginnings to Global Reach
-

 Business1d ago
Rhode Island Weather for April 23, 2024 – John Donnelly